Overview
The Data Import feature creates new objects and relationships via an uploaded template. Administrators can update existing object data through the Data Import by adding field values, assigning users roles, or moving an object to a specific workflow state.
Updating object data requires the object's External Reference ID, which you can get by:
-
Viewing a previously uploaded Data Import Template (e.g., one that has had Object Type field changes since your company’s Core system implementation)
-
Using the Audit Trail feature
User Account Requirements
A user must have Administrator permission to access and perform a Data Import.
Related Information/Setup
Please see the Creating a Data Import Template article for more information on how to fill out the Data Import Template.
Please see the Uploading a Data Import Template article for more information on uploading a Data Import Template file.
Navigation
- From the Home screen, click on the System icon.
![]()
System Icon
- From the Admin Overview screen, click on the Data Import tile under the Tools section.
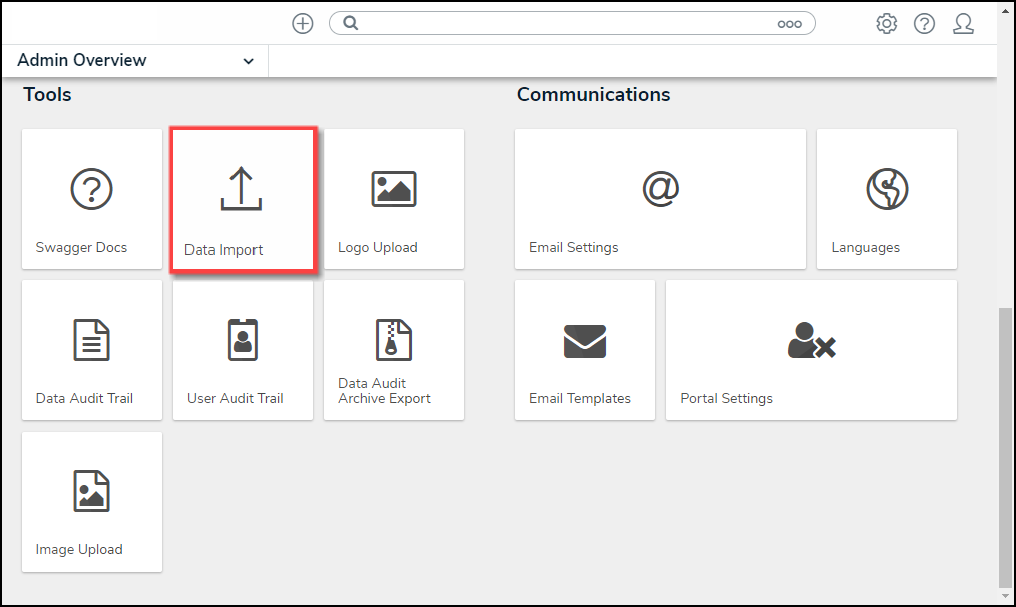
Data Import Tile
Updating Object Data Using the Data Import Feature
- From the Data Import screen, select the Object Types and Relationships to include in the export.
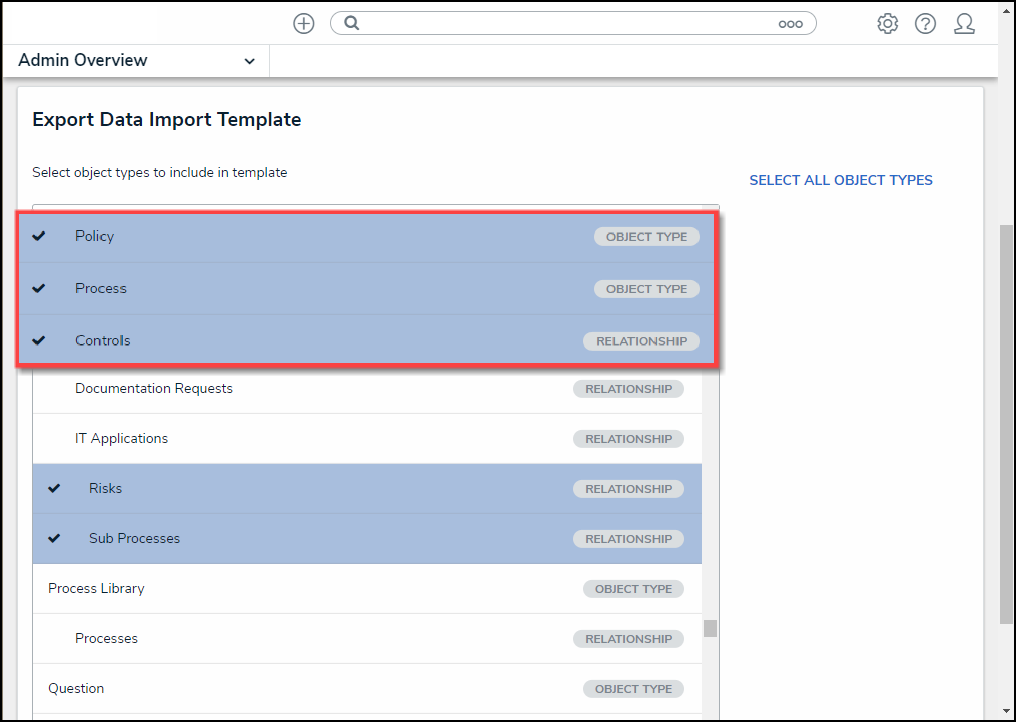
Object Types and Relationships
- Click the Export button. Please see the Creating a Data Import Template article for more information on how to fill out the Data Import Template.
- Open the Data Import Template file and select an Object Type tab from the bottom of the spreadsheet. Object Type tabs are labelled with the Object Type name (e.g., Risk), and Relationships are labelled with the Object Type monogram and Relationship name (e.g., R - Incident Type).
Spreadsheet Tab Types
- From an Object Type spreadsheet, enter the object type's external reference ID in the External Ref ID column.
External Ref ID Column
- Enter the new data you want to update the object type in the corresponding columns.
- Save your changes to the Data Import Template file.
- Upload the Data Import Template file. Please see the Uploading a Data Import Template article for more information on uploading a Data Import Template file.