Overview
An Administrator can create new objects using the Data Import feature.
User Account Requirements
A user must have Administrator permission to access and perform a Data Import.
Related Information/Setup
Please see the Creating a Data Import Template article for more information on how to fill out the Data Import Template.
Please see the Uploading a Data Import Template article for more information on uploading a Data Import Template file.
Please see the Creating a Role article for more information on creating a new role.
Please see the Importing File Attachments Using the Data Import Template for more information on adding attachments to a Data Import Template.
Navigation
- From the Home screen, click on the System icon.
![]()
System Icon
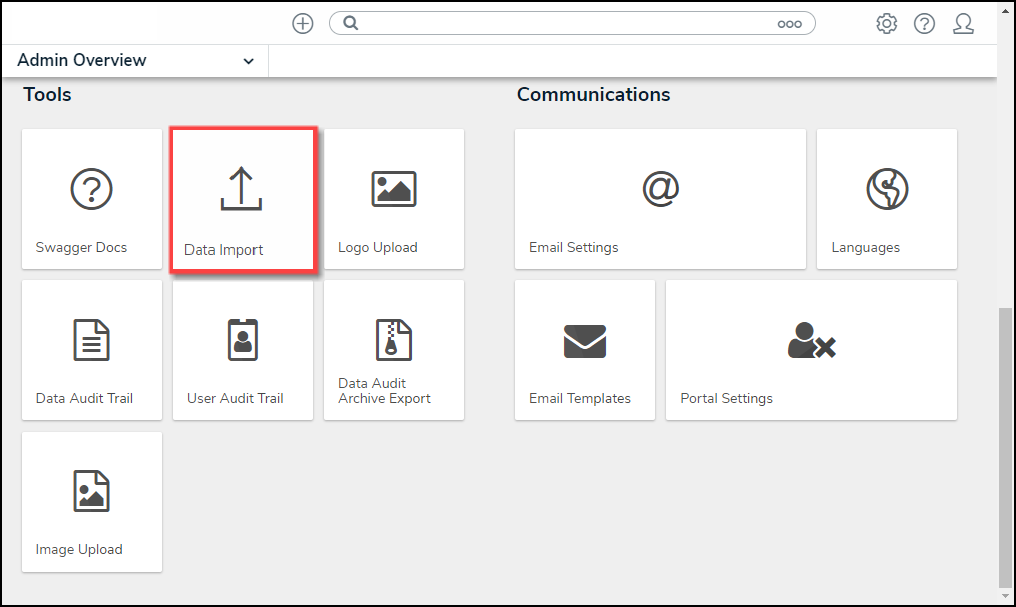
- From the Admin Overview screen, click on the Data Import tile under the Tools section.
Data Import Tile
Creating a New Object Data Using the Data Import Template
- From the Data Import screen, select the Object Types and Relationships to include in the export.
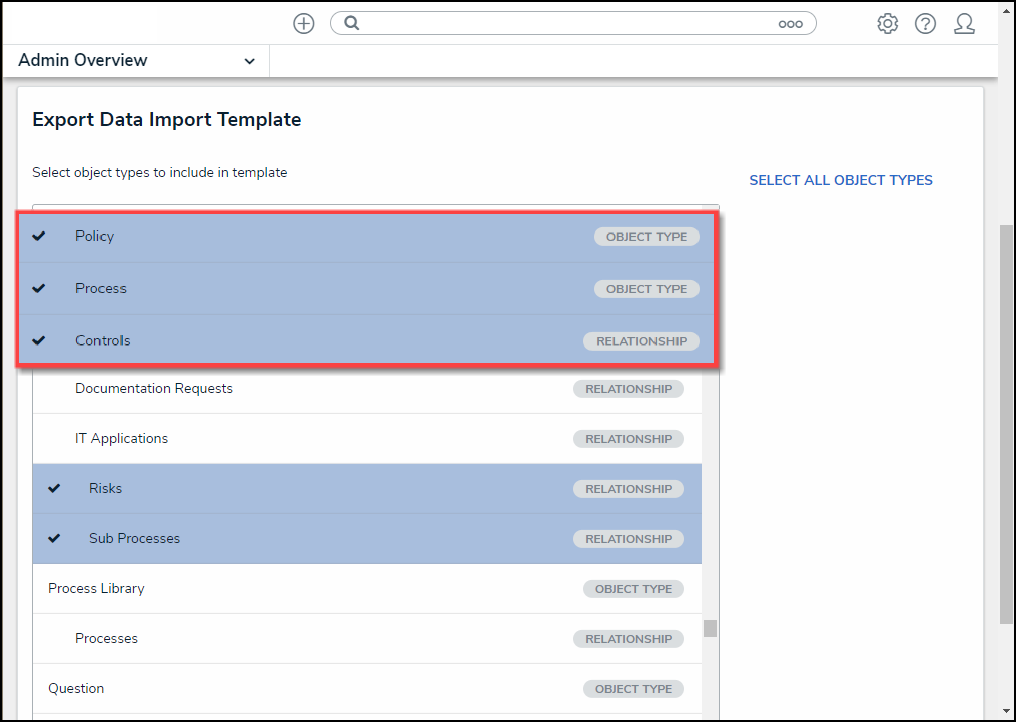
Object Types and Relationships
- Click the Export button. Please see the Creating a Data Import Template article for more information on how to fill out the Data Import Template.
- Open the Data Import Template file and select an Object Type tab from the bottom of the spreadsheet. Object Type tabs are labelled with the Object Type name (e.g., Risk), and Relationships are labelled with the Object Type monogram and Relationship name (e.g., R - Incident Type).
Spreadsheet Tab Types
- From an Object Type spreadsheet, enter the object type's external reference ID in the External Ref ID column. The External Ref ID must:
- Be unique from all other External Ref IDs.
-
Maximum 300 characters.
-
External Ref IDs cannot contain the colon (:) special character.
External Ref ID Column
- Enter the object's name in the Name column.
- (Optional) Enter a brief object description in the Description column.
Object Spreadsheet
- Enter the new data you want to update the object type in the corresponding columns.
-
Text: Enter the data as needed.
-
Numeric: Enter numbers only.
-
Date & Time: Enter a date and time according to the format enter when creating the Data/Time Field.
- YYYY-MM-DD
- YYYY-MM-DD HH:MM AM/PM
- MM/DD/YYYY
- Month Day, Year
- Month Day, Year HH:MM AM/PM
- DD/MM/YYYY
- DD/MM/YYYY H:mm (24 hr)
- DD-MM-YYYY
- DD-MM-YYYY HH:MM AM/PM
- DD.MM.YYYY
- DD.MM.YYYY H:mm (24 hr)
-
Select List: A Select List is a field type that allows users to select one or more predefined options. Enter a select list option (e.g., Incident Severity).
-
Multi-Select List: A Multi-Select List is a field type that allows users to select one or more predefined options. Enter one or more options from the select list, separated by commas, with no spaces (e.g., high, medium, low).
-
Attachment: Enter the expected path and file name (e.g., Reports/October 2 break in.jpg) for any imported files in the appropriate attachment field column in the spreadsheet. Read more here: Import File Attachments.
- Roles: To assign users from a specific role to the object:
- Ensure all relevant users and related roles have been added to the system (otherwise, your data import will fail).
- Locate a role column in the spreadsheet. Role columns appear after field columns and are labelled in row 3 as Assignable Role and in row 4 as the Role's name (e.g., Owner).
- Enter the user’s company email address in a section below the desired column (e.g., Column N). If assigning multiple users, separate the users' email addresses by commas (e.g., lucian.ford2653@coreqe.com, somchai.tan_2653@coreqe.com).
- Under the Assignable Role column (e.g., Columns N or O below), enter the relevant users’ email addresses.
-
Role
-
- Workflows: Add a workflow status (e.g., in progress) in the Library Workflow column. Workflows allow administrators to control the movement of data and define what data is displayed, where it’s displayed, and which users the data is displayed to through applications, activities, search results, data visualizations, and assignments.
Workflow
- Save your changes to the Data Import Template file.
- Upload the Data Import Template file. Please see the Uploading a Data Import Template article for more information on uploading a Data Import Template file.
Note:
If you do not wish to add data to another field, role, or workflow, leave the sections below the respective columns blank (do NOT delete, as it will cause upload errors).